
How to Set Up a Rotary Tiller: 8 Adjustments for a Fine Seedbed in One Pass
A correct rotary tiller setup is the difference between a fine, level seedbed and a field full of clods, smeared soil and a broken shear bolt. Most problems with a new rotavator have nothing to do with the machine itself: the PTO shaft length is wrong, the three point hitch tiller is not level, or the rotary tiller depth and forward speed do not suit the soil. This rotary tiller setup guide covers the eight adjustments to make before and during the first day of work.
Setting up a new tiller? Send your tractor model and a photo of the hitch on WhatsApp +86 133 8469 2372 or and our team will help you check it.
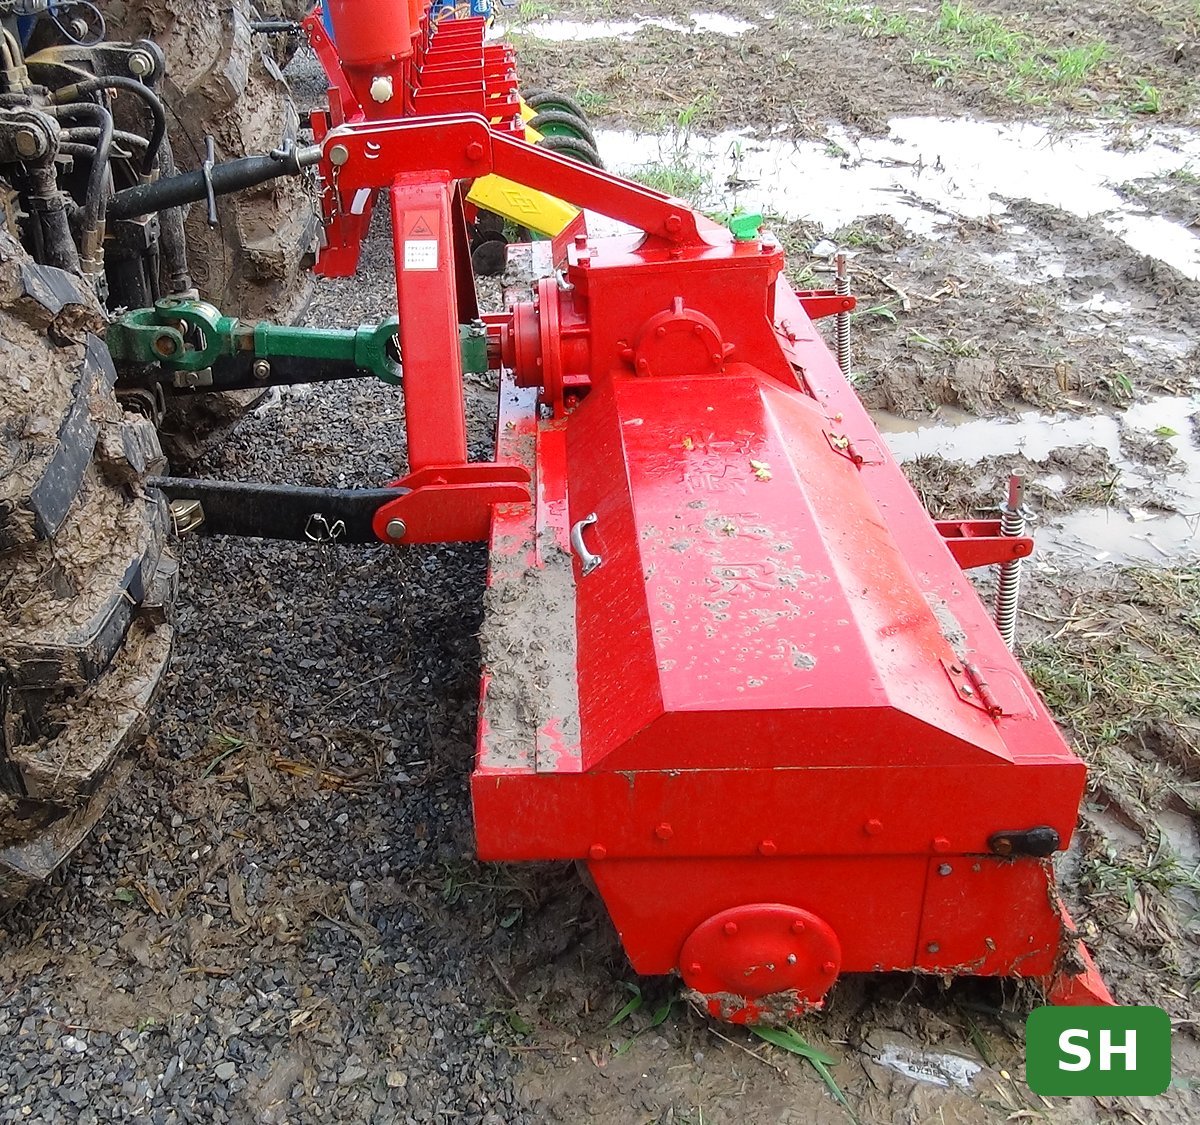
Before You Start: Match the Tiller to the Tractor
Setup begins with the right size. A rotavator should be at least as wide as the outside of the tractor rear tyres, so the wheel marks are tilled out. Power must match too: as a rough guide, allow about 20–25 HP per metre of width in light soil and 30–40 HP per metre in heavy or wet soil. Our R1SH models run from 1.2 m for 20–25 HP up to 2.5 m for tractors over 100 HP, all at 540 r/min PTO speed. If you are still choosing, read our rotary tiller buying guide first.
1. Hitch the Three Point Hitch Tiller
Most tractor tillers are Category I or Category II three point hitch tiller frames. Connect the two lower links first, then the top link. Fit the check chains or stabilisers so the machine cannot swing sideways more than a few centimetres; a tiller that moves side to side cuts uneven strips and can hit the rear tyres.
2. Check the PTO Shaft Length
PTO shaft length is the most common setup mistake. The telescopic shaft must never bottom out when the tiller is lifted, and it must keep enough overlap when the tiller is lowered to full depth.
- Lift the tiller to the position where the tractor PTO and the gearbox input are closest together. Hold the two shaft halves side by side. If they are too long, mark them so there is a gap of at least 25–40 mm before they bottom out, and cut both tubes and guards by the same amount.
- Lower the tiller to its deepest working position. The two tubes should still overlap by at least a third of their length.
- Deburr the cut ends, grease the tubes and refit the guards and the safety chains.
If you are not sure, ask the dealer to cut the shaft. A wrong PTO shaft length can break the gearbox in seconds.
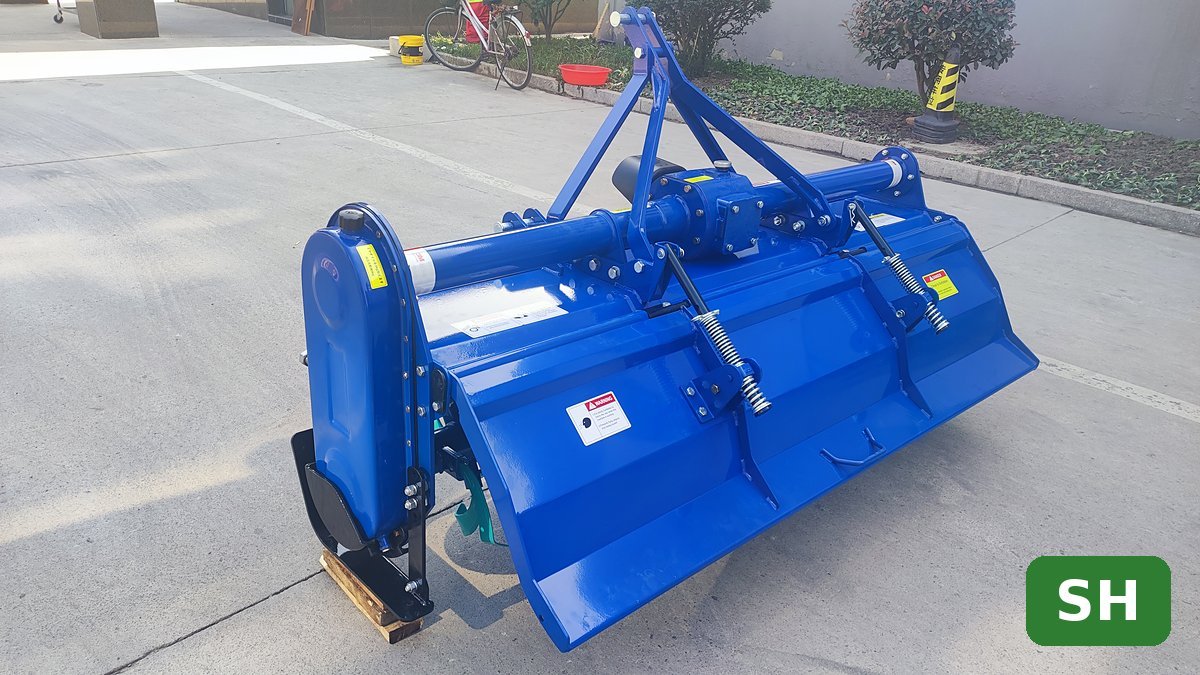
3. Level the Machine Side to Side
The first rotavator adjustment in the field is levelling. Lower the tiller onto flat, hard ground. Measure from the ground to the frame at both ends. Adjust the lift rod on one side until both measurements are equal. A tilted rotavator tills deeper on one side and leaves a ridge at every pass.
4. Set the Top Link for the Gearbox Angle
This rotavator adjustment protects the driveline.
Adjust the top link so the gearbox input sits roughly in line with the tractor PTO when the tiller is at working depth. The PTO shaft angle should stay small, ideally under about 15 degrees, while working. Too much angle wears the universal joints quickly and causes vibration.
5. Set the Rotary Tiller Depth
Rotary tiller depth is set with the side skids or a rear depth wheel, not just with the tractor lift arms. Our R1SH series works 140–220 mm deep on the smaller models and 150–250 mm on the larger ones.
- Seedbed for small seeds: 100–150 mm is usually enough.
- Incorporating residue or manure: 150–200 mm.
- First pass in grass or stubble: start shallow and go deeper on a second pass.
Put the tractor hydraulics in float or position control so the skids carry the machine and the depth stays even.
6. Adjust the Rear Shield for the Finish You Want
The rear shield, sometimes called the levelling board, is the simplest rotavator adjustment and has a big effect. Lower it and soil is held in the rotor longer, giving a finer, smoother surface. Raise it and you get a rougher tilth that resists crusting and erosion.
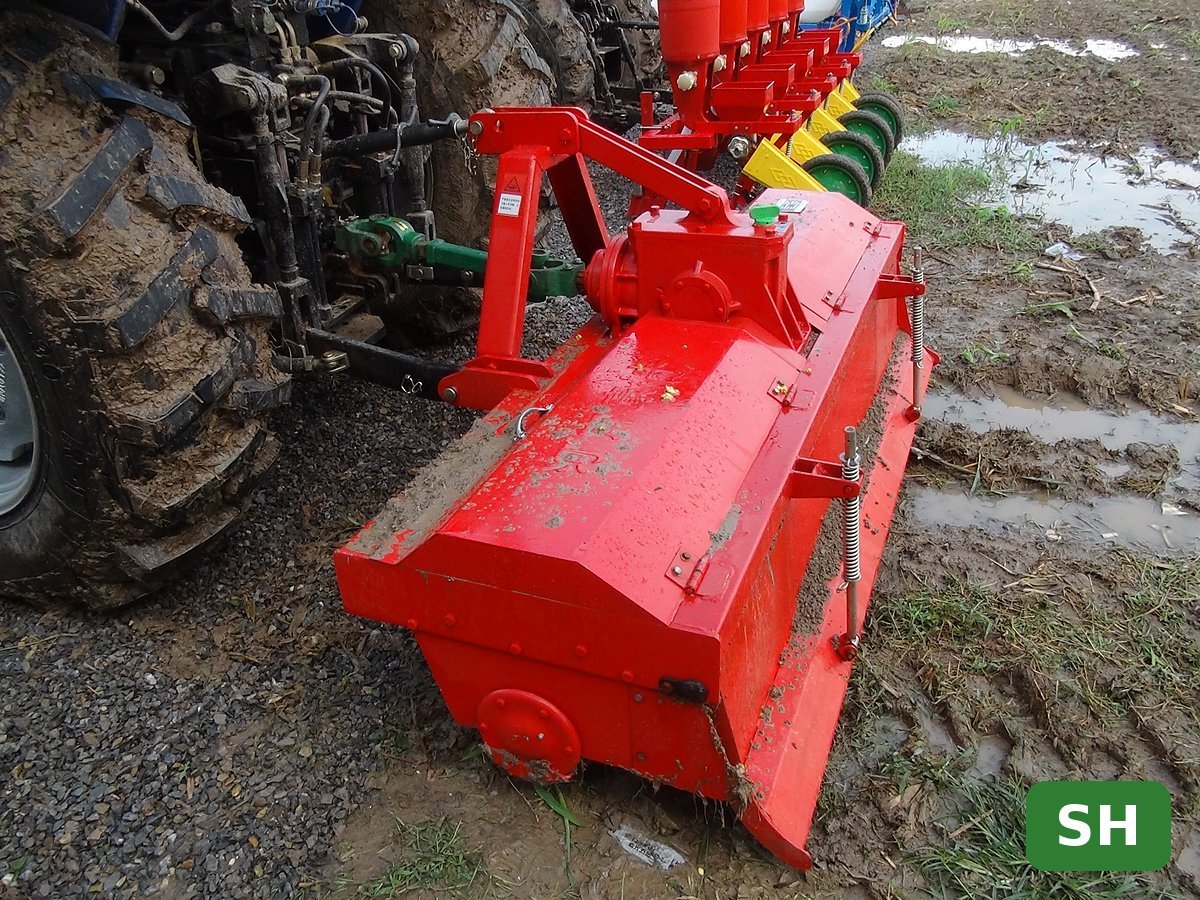
7. Choose Forward Speed and Engine Speed
Speed is the rotavator adjustment you can change from the seat.
Run the engine at the speed that gives 540 r/min at the PTO. Then use forward speed to control the finish: slower driving gives finer soil, faster driving gives coarser soil and more hectares per hour. A typical starting point is 2–4 km/h. Engage the PTO with the tiller just above the ground and lower it gently while moving forward.
8. Test Run and Re-Check
Work 30–50 metres, stop, and check:
- Is the depth the same on both sides?
- Are the tractor wheel marks fully tilled?
- Is the finish right, or should the shield or speed change?
- Are the gearbox and bearings only warm, not hot?
Write down the settings that work for each field, so your rotary tiller setup is quick next season. After the first few hours, re-tighten the blade bolts and check gearbox oil. Bent or worn blades change everything above, so see our guide to rotary tiller blades if the finish suddenly gets worse.
Common Rotary Tiller Setup Problems and Fixes
| Problem | Likely cause | Fix |
|---|---|---|
| Strong vibration | PTO angle too large, blades missing or mixed up | Adjust top link, check blade pattern |
| Uneven depth | Tiller not level, hydraulics not in float | Level with lift rod, set skids |
| Smeared, shiny soil | Soil too wet, speed too slow | Wait for drier soil, drive faster |
| Large clods | Shield too high, speed too fast, worn blades | Lower shield, slow down, replace blades |
| Broken shear bolt or slipping clutch | Stones, too deep for tractor power | Work shallower, clear stones, check size |
If the soil is very hard, plough first with a plough or break the pan with a subsoiler, then finish with the tiller. Avoid working wet soil, which can form a hard pan below the working depth.
Fewer, well-set passes save fuel and protect soil structure. The FAO’s work on sustainable agricultural mechanization explains why efficient tillage matters.
Not sure which width fits your tractor? Use our selection assistant, message us on WhatsApp +86 133 8469 2372 or .
Related guide: When to choose a side drive rotary tiller for hard soil.
FAQ
How deep should a rotary tiller go?
For most seedbeds 100–150 mm is enough. Go to 150–250 mm only when you need to mix in residue or manure and your tractor has the power.
Why does my PTO shaft keep breaking?
Usually the PTO shaft length is wrong and the shaft bottoms out when lifted, or the working angle is too steep. Check both before replacing the shaft.
Should the rear shield be up or down?
Down for a fine, level surface before small seeds; up for a rough tilth on soils that crust or erode.
Can I use the tiller with the tractor lift arms in position control?
You can, but float with the skids carrying the weight usually gives a more even rotary tiller depth.
Get a Quote
Send us your tractor HP, rear tyre track, soil type and destination port. We will recommend a rotavator width and send a quotation. Message us on WhatsApp +86 133 8469 2372 or browse all models on our rotary tillers page.
Comments
Please log in to join the discussion. Log in Register